
24/7 Customer Support

Free returns

Same-day & Next-day Delivery

Quality Guaranteed

Unlock Your Welcome Offers: FREE Delivery | Up to 80% OFF | Free 30-day JoyPlus trial
Download the APP
From a hairline crack that catches your eye to a more substantial hole left by a picture hook, imperfections on walls and ceilings are a common frustration. Achieving a smooth, professional finish before decorating depends on using the correct wall filler. With so many options available, from ready mixed filler to specialised formulas, selecting the right product can feel overwhelming.
This guide is designed to help you navigate the choices. We will break down the key factors to consider when selecting a filler and provide our top recommendations for various repair jobs around your home, ensuring you can tackle your next DIY project with confidence.
Before you make a purchase, it is important to assess the specific requirements of your repair job. Considering these factors will help you select a product that delivers a durable and lasting finish.
The first consideration is where the repair is located. Interior fillers are formulated for stable indoor conditions. For outdoor projects, such as repairing rendered walls or window frames, you will need a dedicated exterior filler. These products are designed to withstand the British weather, offering waterproof and often frost-resistant properties to prevent the repair from failing due to moisture and temperature changes. A good masonry filler will bond strongly to brick, stone and concrete.
The size and depth of the damage are crucial. For minor blemishes and hairline fractures, a standard crack filler or a multipurpose filler is usually sufficient. However, for larger holes, such as those left after removing old pipes or electrical fittings, a specialised deep gap filler is necessary. These are formulated to be applied in thicker layers without sagging or shrinking excessively as they dry, saving you the time and effort of building up multiple thin layers.
Consider how quickly you need to complete the job. If you are preparing a room for painting and are short on time, a quick drying filler is an excellent choice. Some formulas can be ready to sand and paint in a matter of minutes, which is ideal for small, last-minute repairs. For larger jobs where you may need more working time to achieve a smooth surface, a standard drying time filler offers more flexibility. Most fillers are a paintable filler, but always check the product specifications to ensure compatibility with your chosen paint.
Here are our recommendations for different repair scenarios, selected to help you achieve a professional-quality finish.
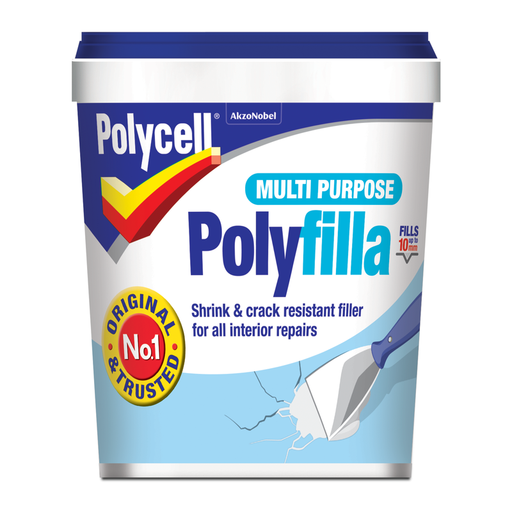
Why It Stands Out: This is a classic all-rounder. Its ready-mixed formula offers great convenience for a wide variety of common interior repair tasks, from small holes to smoothing over larger surface imperfections.
Pros:
Who is it for? Homeowners and DIY enthusiasts looking for a reliable and versatile multipurpose filler for general indoor repairs.
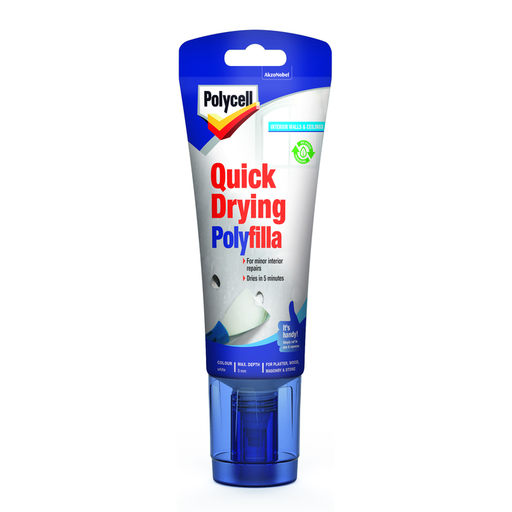
Why It Stands Out: When time is of the essence, this filler delivers. It is specifically formulated for rapid repairs, with a drying time of approximately five minutes for small jobs.
Pros:
Who is it for? Anyone needing to complete minor interior repairs quickly, such as decorators working between coats or homeowners making last-minute fixes before guests arrive.
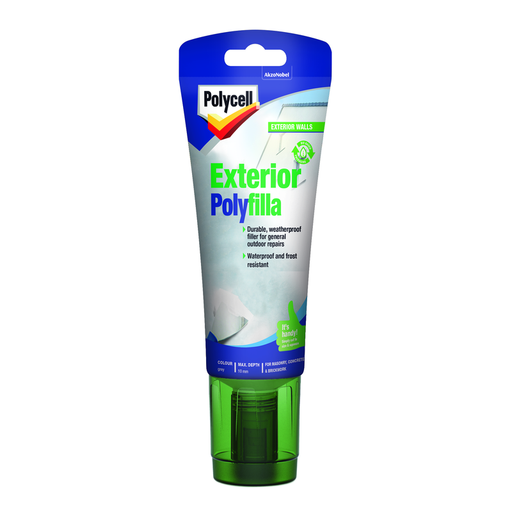
Why It Stands Out: This filler is built to withstand the elements. Its formulation provides a tough, durable repair for outdoor masonry that is both waterproof and frost resistant.
Pros:
Who is it for? Those needing to repair exterior surfaces like garden walls, rendered houses or stone window sills, where weather resistance is paramount.
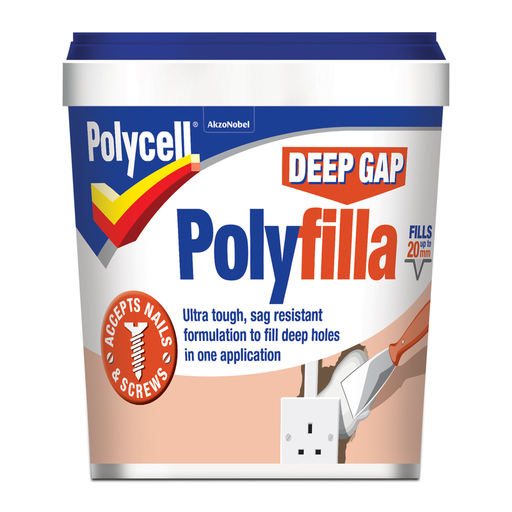
Why It Stands Out: For substantial repairs, this is the product to reach for. It is specifically designed to fill deep holes up to 20mm in a single application without sagging.
Pros:
Who is it for? Ideal for tackling major repairs, such as filling large holes left by removing radiators, pipes or deep structural cracks in plaster.
The products highlighted here cover the most common repair scenarios, but every project is unique. If you are looking for a different type of sealant or adhesive for your task, you can explore our wider selection to find the perfect match.
Explore our full range of White adhesive products.
1. Can you paint directly over Polyfilla? Yes, the majority of Polyfilla products are designed to be a paintable filler. For a professional finish, it is important to let the filler dry completely according to the manufacturer's instructions. Once dry, lightly sand the area until it is flush with the surrounding wall, wipe away any dust and then you can apply your primer or paint.
2. How long does Polyfilla take to dry? Drying time varies significantly between products. A quick drying filler can be dry in as little as five minutes for small repairs. Standard or multipurpose filler products may take 1-2 hours for shallow fills, while a deep gap filler applied in a thick layer could take 24 hours or more to cure fully. Always check the packaging, as drying times are affected by temperature, humidity and the depth of the fill.
3. What is the difference between a multipurpose filler and a specialised one? A multipurpose filler is a versatile, all-in-one product suitable for a range of common, minor interior repairs on various surfaces like plaster and wood. Specialised fillers, such as an exterior filler or deep gap filler, are formulated for specific challenges. An exterior filler contains additives for weather and water resistance, while a deep gap filler has a thicker consistency to prevent sagging in large holes. Choosing a specialised product for a specific job often yields a more durable and effective result.