Toy makers photographing listings
You need consistent pictures of the whole toy that show its shape and yarn colour without losing its outline against the backdrop. A repeatable lighting arrangement is as important to plan as the camera.


Choose your lighting plan and the close-up lens you need before choosing a camera body. Controlled light helps a knitted toy stand apart from a dark background; a 1:1 macro lens becomes worthwhile when stitches or tiny accessories need to fill the frame, but it is not necessary for every full-toy photograph. Check the lens’s working distance too, because it affects where you can place lights.
You need consistent pictures of the whole toy that show its shape and yarn colour without losing its outline against the backdrop. A repeatable lighting arrangement is as important to plan as the camera.
When stitches, embroidery or small accessories need their own images, consider how large the lens can show them in the frame and how you will keep the close-up steady.
You want to start with whole-toy pictures and retain the option of closer detail shots. Check which lenses fit the camera before committing to a specialist macro setup.
Start with the size of the detail you need to show, then plan how to light the toy and frame each shot. These camera-and-lens routes differ most clearly in close-up magnification and the room they leave for lighting.
Consider it when: Tiny stitches or embroidered features need to fill the frame; Nikon specifies 1:1 magnification for this lens.
Trade-off: The specialist macro lens is a separate part of the setup, and very close shots call for careful focus and camera support.
Consider it when: You want to move between whole-toy pictures and closer views of yarn texture; Canon specifies up to 0.5x magnification.
Trade-off: This lens does not reach the 1:1 magnification of the Nikon and Sony macro lenses discussed here.
Consider it when: You need 1:1 close-ups and can arrange the lights around a closely positioned lens.
Trade-off: Sony specifies a 2.4cm minimum working distance, which can restrict light placement near the toy.
| Concern | What to check | Who this matters to |
|---|---|---|
| Stitch detail | Check the exact lens’s maximum magnification and working distance; do not assume a supplied zoom gives 1:1 close-ups. | If stitches or embroidery must be prominent in a detail image, I need a lens that frames them closely. Around 31% of consumers put close-up detail first. |
| Separation from the backdrop | Plan light for the toy while keeping it off the background; assess exposure and add edge lighting where needed. | When dark yarn blends into the backdrop, I want its shape and texture to remain visible. Dark-background control is the main concern for around 31% of consumers. |
| Repeatable workflow | Check whether you can compose comfortably at tabletop angles and preview the effect of exposure changes. | Photographing several toys calls for framing and lighting I can reproduce without resetting everything. Around 19% of consumers chiefly value that simpler workflow. |
| Room to change lenses | Confirm the camera’s lens mount and the compatible options for both whole-toy and close-detail framing. | I may use the camera for other craft images later, so the lenses available for it matter beyond this shoot. System flexibility comes first for around 19% of consumers. |
The body alone does not determine how large a stitch appears in the photograph. Canon specifies up to 0.5x magnification for its RF 35mm lens, while Nikon and Sony specify 1:1 for the macro lenses discussed here.
Decide whether you need whole-toy shots, tight details or both, then check the exact compatible lens and its magnification.
A suitable close-up or macro lens may be a separate addition to the camera setup.
Without light on the toy, shaded yarn and its outline can disappear into the background. Canon UK discusses backlighting as a way to separate a subject from its background.
Plan a main light for the toy, soften shadows if needed and consider light from behind when its edge blends into the backdrop.
A controllable light, diffuser or stand can add equipment and setup time.
Sony specifies a 2.4cm minimum working distance for the E 30mm F3.5 Macro. At close range, the camera and lens can get in the way of light or a diffuser.
Check the space your tabletop arrangement leaves around the toy before choosing that lens for tight details.
The EOS R50 and RF 35mm F1.8 MACRO IS STM form a route for whole-toy pictures and moderately close texture images.
The Z50II paired with the NIKKOR Z MC 50mm f/2.8 suits a setup centred on small knitted details.
The α6400 and E 30mm F3.5 Macro provide another interchangeable-lens route to 1:1 knitted-detail images.
These options include Sony cameras listed with zoom lenses and a compact camera with a built-in lens. They offer ways to frame a whole knitted toy; if fine stitches must fill the picture, check the close-up capability of the exact lens supplied. In particular, the A6400 kit below includes a 16–50mm zoom, not the separate E 30mm F3.5 Macro discussed above.
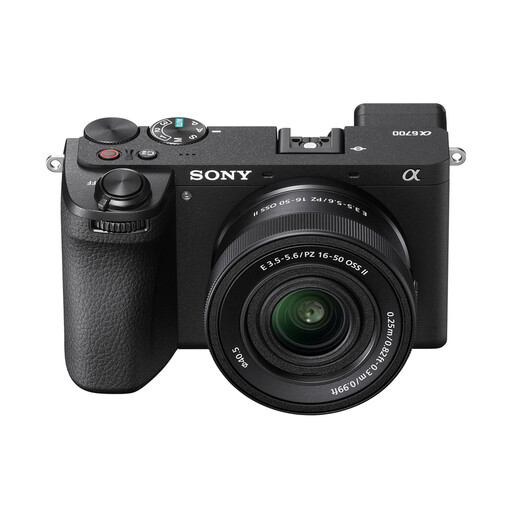 Image unavailable
Consider the supplied zoom for framing a whole toy at your tabletop setup.
Before relying on it for tight stitch images, check the supplied lens’s close-focus distance and maximum magnification. Plan lighting for the toy separately.
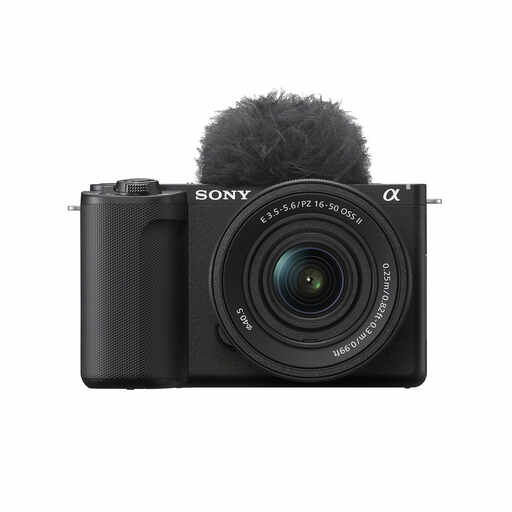 Image unavailable
The supplied zoom gives you a starting point for whole-toy framing.
The title specifies a 26-megapixel APS-C camera. Check the kit lens’s close-focus distance and magnification if small stitches are central to your images.
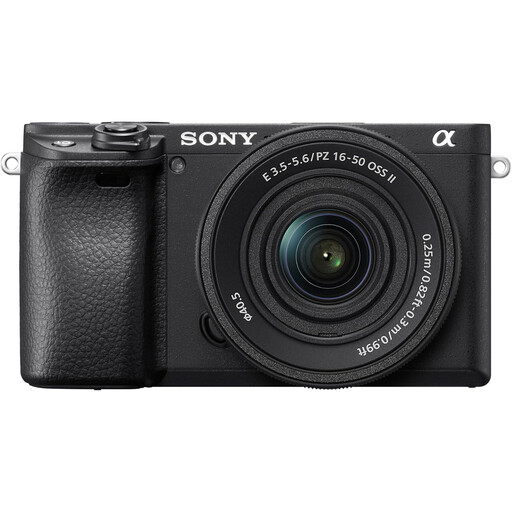 Image unavailable
Use the supplied zoom as a starting point for photographs showing the whole toy.
This kit is distinct from the α6400 with E 30mm F3.5 Macro pairing. Check the supplied zoom’s magnification before choosing it for stitch-level close-ups.
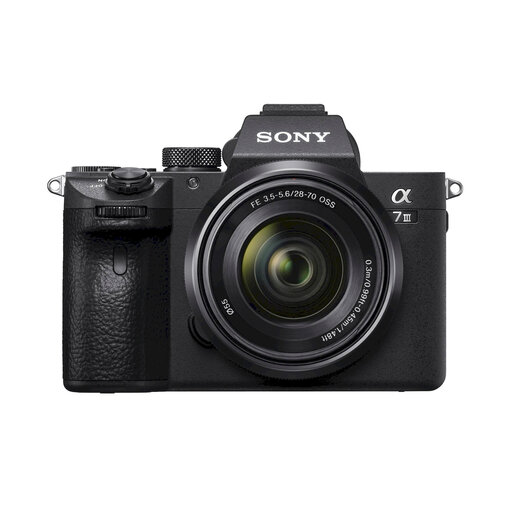 Image unavailable
The supplied zoom is an option to assess for photographs of the whole toy.
If you also need small details to fill the frame, check the included lens’s close-focus distance and maximum magnification before choosing this kit.
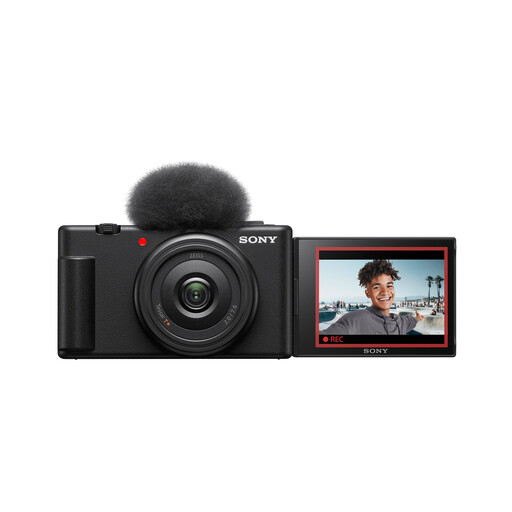 Image unavailable
Consider this compact camera if you want a built-in lens for a straightforward whole-toy setup.
Check whether its fixed, ultra-wide lens gives you the framing and close-up detail you need before choosing it for small knitted features.
Not necessarily for a fixed tabletop scene: light the toy while controlling how much light reaches the backdrop. Canon UK’s low-key lighting guidance describes backlighting as a way to separate a subject from its background; adjust your lighting and check the resulting exposure before treating a different body as the solution.
Choose a 1:1 macro lens when stitches, embroidery or miniature accessories need to appear large in a detail photograph. For pictures showing most or all of the toy, a lens with less magnification may meet your framing needs; check the exact lens rather than relying on the camera body’s name.
Light the toy independently of the backdrop so its texture and outline remain visible. Add fill where shadows hide important details, or try light from behind when the toy’s edge blends into the background.
Keep unwanted electrical products and batteries out of household rubbish. GOV.UK advises using an appropriate electrical-waste recycling point or household waste recycling centre.