
24/7 Customer Support

Free returns

Same-day & Next-day Delivery

Quality Guaranteed

Unlock Your Welcome Offers: FREE Delivery | Up to 80% OFF | Free 30-day JoyPlus trial
Download the APP
Giving a tired piece of furniture a new lease of life is one of the most satisfying home projects you can undertake. Whether it's a dated chest of drawers, a scuffed dining table or a charity shop find, a thoughtful DIY furniture renovation can transform it into a statement piece. But knowing where to start and which products to choose can be daunting.
This guide is designed to help you navigate the essentials of furniture upcycling. We'll walk through the key stages, from preparation to finishing, and highlight some practical products to help you achieve a professional-looking result without the guesswork.
Before you pick up a brush, understanding the products involved is crucial for a smooth project. Here are a few points to consider when shopping for your supplies.
The most common mistake in any painting project is skipping the preparation. For a durable, even finish, the surface must be clean and ready to accept paint. Start by cleaning the piece thoroughly with a sugar soap solution to remove grease and grime. After that, preparing furniture for painting almost always involves sanding. Using sanding sheets for wood creates a 'key'—a slightly roughened surface that helps the new paint adhere properly. A selection of grits is useful: a coarser grit (like 60 or 80) for removing old varnish or imperfections and a finer grit (120 or higher) for creating a smooth final surface before painting.
The type of furniture paint you choose will define the final look and feel of your piece.
After you've finished painting, applying a top coat is essential to protect your hard work from scuffs, stains and daily wear. For pieces painted with chalk paint, a clear furniture wax is the traditional choice. A good chalk paint wax is applied with a cloth or brush, where it soaks into the porous paint to create a water-repellent barrier and deepens the colour slightly, often leaving a soft, velvety sheen. For other paint types, a clear varnish or lacquer can provide a hard-wearing protective layer.
Based on their features and suitability for common upcycling projects, here are some products to consider for your next DIY furniture renovation.

Why It Stands Out: This comprehensive set removes the need to buy multiple packs of sandpaper. It includes a full range of grits, covering every stage of your project from stripping old finishes to final smoothing.
Pros:
Who is it for? This set is ideal for DIY enthusiasts who own an orbital sander and plan to tackle multiple projects. It provides all the necessary sanding sheets for wood in one convenient package.
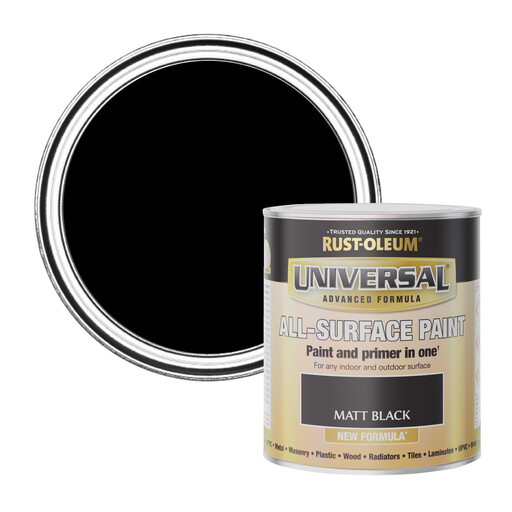
Why It Stands Out: This is a highly versatile paint that simplifies the upcycling process. Its paint-and-primer-in-one formula means you can often apply it directly to a variety of surfaces with less preparation.
Pros:
Who is it for? Anyone looking for a straightforward, one-tin solution for their project. It's particularly useful for items made from mixed materials or for those who want to learn how to paint furniture without complex steps.
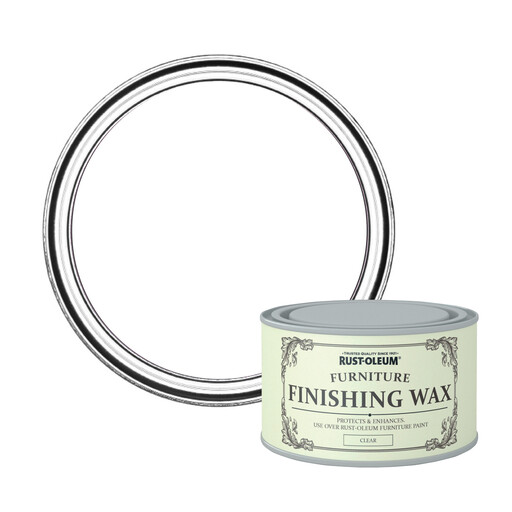
Why It Stands Out: This wax is specifically formulated to protect and enhance chalk-painted furniture. It provides a durable seal while imparting a classic, soft sheen that completes the upcycled look.
Pros:
Who is it for? This is an essential final step for anyone who has used the Rust-Oleum paint chalky finish range, or any other chalk-style paint and wants to ensure their piece is protected for everyday use.
A painted finish isn't the only way to revitalise furniture. If you'd prefer to celebrate the natural beauty and grain of your wooden pieces, other treatments can provide both protection and a beautiful, rich colour.
For those interested in a more traditional or rustic aesthetic, explore our full range of Wood Oil Treatment options to find the perfect finish for your project.
1. What are the essential first steps for preparing furniture for painting? Always begin by cleaning the piece thoroughly with a degreasing agent like sugar soap to remove any dirt, wax or oils. Once dry, sand the entire surface lightly to scuff it up. This creates a texture that the new paint can grip onto, ensuring a longer-lasting finish. Finally, wipe away all dust with a tack cloth or damp rag.
2. Do I always need to sand furniture before painting? While sanding is highly recommended for the most durable result, it's not always mandatory. Some modern all-surface paint products are formulated to adhere to glossy surfaces with minimal prep. However, for high-traffic items like tables and chairs, a light sanding is always a good idea. Always check the paint manufacturer's instructions.
3. What is the main appeal of chalk paint for furniture upcycling? Chalk paint is popular for its exceptional adhesion, often sticking to surfaces with little to no priming. It is known for its ultra-matt, velvety finish, which is very forgiving of imperfections and easy to apply. It's also ideal for creating distressed or aged effects. A protective top coat, such as a chalk paint wax, is typically required to seal the porous finish.