Detail-first miniature painters
If you photograph brushwork, decals or weathering and then crop the image, resolution and a suitable macro lens both matter. Accurate focus and controlled lighting still determine whether those details are visible.


Choose a mirrorless system for painted miniatures around the macro lens, stable support and controllable lighting, rather than treating body specifications as the whole decision. Higher resolution is relevant if you crop into painted details, but a whole figure photographed close up may need several focus positions combined into one image. Check how much room the lens leaves for lighting before committing to a camera mount.
If you photograph brushwork, decals or weathering and then crop the image, resolution and a suitable macro lens both matter. Accurate focus and controlled lighting still determine whether those details are visible.
If the nearest part of a figure and its rear details must both appear sharp, plan for a fixed camera and a focus-stacking workflow. Tangible Day describes using a tripod and successive focus positions for miniature photographs.
If you are moving from a phone or basic camera, look for a body you can frame and adjust comfortably at a desk, then check the compatible macro lens. Nikon’s Z50II and NIKKOR Z MC 50mm f/2.8 illustrate an exposure-previewing body and a lens Nikon specifies at 1:1 magnification.
Start with the size of the subject you want in the frame and whether you need a whole figure sharp from front to back. Those decisions shape the lens, support and lighting you need before differences between camera bodies become useful.
| Concern | What to check | Who this matters to |
|---|---|---|
| Detail crops | Compare effective resolution and the magnification of the exact macro lens you would use. | If I crop into painted faces or insignia, I want enough detail in the original image to work with. Roughly 36% of consumers put detail capture and cropping first. |
| Whole-model sharpness | Check manual-focus operation and whether you can keep the camera and model fixed for a focus stack. | When I show a complete three-dimensional figure, I want its front and rear details to remain clear. Front-to-back sharpness is the primary concern for around 29% of consumers. |
| Dark-backdrop control | Check exposure preview and manual controls; consider RAW recording if you plan to adjust colour after capture. | I need to light the paint without unwanted light falling across the backdrop. About 21% of consumers make repeatable background and exposure control their main priority. |
| Manageable setup | Check compatible macro lenses and the space they leave for lights and reflectors at your intended framing distance. | If I am building a tabletop setup from scratch, I want a body and lens I can position and use comfortably. For roughly 14% of consumers, that straightforward setup is the leading need. |
A camera body alone does not establish how closely you can frame a painted detail. Canon, Nikon and Sony specify magnification for particular macro lenses, not for every lens that fits their cameras.
Check the exact lens’s maximum magnification and working distance for both whole-figure and detail photographs before choosing a mount.
A dedicated macro lens may also change how you arrange the camera and lighting around the model.
At close focusing distances, different parts of a three-dimensional miniature may fall outside the sharp area of a single frame. Tangible Day describes combining photographs taken at successive focus positions.
For a whole-model image, try a manual focus stack with the model, lights and camera held in place.
Combining the frames adds an editing stage.
Lens stabilisation can be useful for handheld photographs, but a focus-stack sequence calls for repeatable framing. Tangible Day’s miniature workflow uses a tripod.
Use rigid support when taking successive focus positions, and treat stabilisation as a separate handheld-use consideration.
The camera’s exposure preview can help you judge the scene, but it does not determine where the light falls. Backdrop illumination and the light on the painted figure need separate attention.
Position the background and lights first, then assess the result through the camera’s preview and exposure controls.
Canon’s RF system is worth considering if detail crops are central to your photographs and you are looking at the EOS R7 alongside an RF macro lens.
Nikon’s Z50II and NIKKOR Z MC 50mm f/2.8 offer a body-and-macro-lens route for a controlled tabletop setup.
Sony E-mount is another route if the α6700 and FE 90mm F2.8 Macro G OSS suit your intended framing and tabletop space.
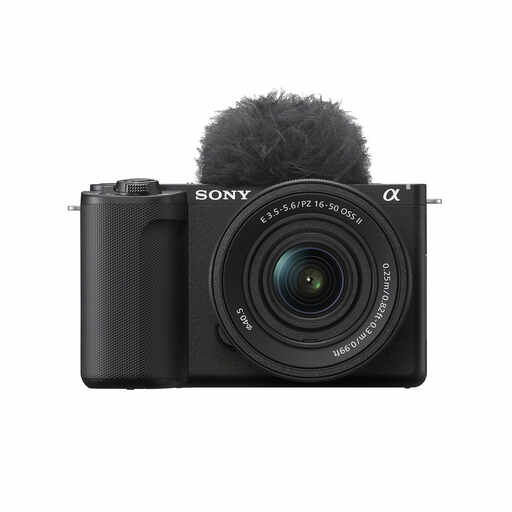
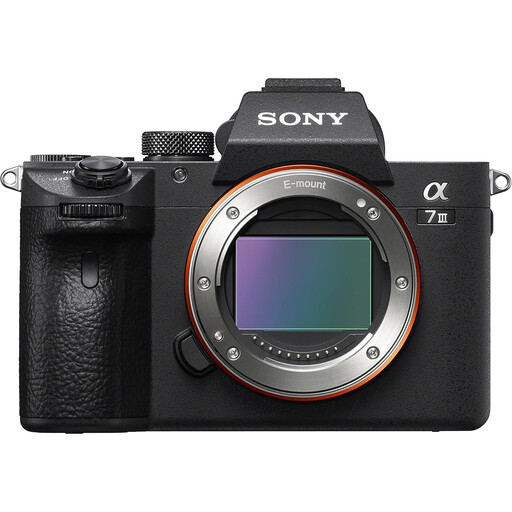
These Sony mirrorless camera listings are starting points for a dark-background tabletop setup. Choose a suitable close-focusing lens and check the contents of the listing before treating either camera as a complete miniature-photography kit.
 No image available
Consider this APS-C camera if you want to frame painted details and are willing to check the lens options for closer shots.
The listed camera has 26 MP still-image resolution and a 16–50 mm f/3.5–5.6 kit lens. Confirm the lens’s close-focus capability or choose a compatible macro lens for the details you intend to photograph. If you plan to stack images, also check the manual-focus and exposure-preview controls you would use.
 No image available
Consider this camera body if you are assembling a tabletop system with a lens chosen for your miniature framing and close-detail needs.
Confirm what is included before ordering: the listing title says body only, while its accompanying description says a 28–70 mm lens is included. Check the magnification and compatibility of the macro lens you intend to use.
No: a whole figure can be photographed at less than 1:1 magnification. A dedicated macro lens becomes more relevant if you also want close images of faces, insignia or weathering; Nikon specifies 1:1 for the NIKKOR Z MC 50mm f/2.8, and Sony specifies 1:1 for the FE 90mm F2.8 Macro G OSS.
No: resolution does not solve shallow depth of field at close range. If the miniature extends substantially from front to back, a fixed camera and multiple focus positions may be needed for a sharp composite; Tangible Day describes this tripod-based miniature workflow.
For a carefully framed focus stack, use a tripod or similarly rigid support rather than relying on stabilisation alone. Stabilisation is a separate convenience for handheld photographs; the position of the camera needs to remain steady across a stacking sequence.
Plan for a lens that can frame your intended details, stable support, controllable lighting and a background. If you intend to combine focus positions or edit RAW files, check that you have a suitable editing workflow as well; Tangible Day’s stacking instructions include both a controlled setup and post-processing.