
24/7 Customer Support

Free returns

Same-day & Next-day Delivery

Quality Guaranteed

Unlock Your Welcome Offers: FREE Delivery | Up to 80% OFF | Free 30-day JoyPlus trial
Download the APP
A kitchen or bathroom refresh does not always require adhesive, grout, tile spacers and a weekend of dust. Peel and stick splashback tiles offer a lower-mess alternative for renters, DIY homeowners and anyone looking to update an indoor wall quickly.
However, attractive product images can hide practical limitations. Before choosing a self adhesive splashback, check the surface, material, coverage and heat exposure requirements. This guide from the Joybuy Product Recommendation Officer explains the main buying pitfalls and highlights suitable options for different homes and projects.
A peel and stick splashback can change the appearance of a wall, but it is not automatically a substitute for ceramic or porcelain tiling in every location. Many products in this category are designed for decorative indoor use and should be applied only to clean, smooth and dry surfaces.
Check the product dimensions rather than relying on photographs. A pack of four panels may cover a relatively small area, while a vinyl splashback roll can cover a longer run with fewer joins.
High-shine faux marble, glass-effect splashbacks and resin panels can create an attractive focal point, but heat exposure still matters. The supplied product guidance states that a cooker without a backing needs at least 15 inches or 38 cm of space above the range for the relevant designs.
Measure the distance between the cooking surface and the wall before ordering. Do not place decorative vinyl or resin products where they could be exposed directly to excessive heat, flames or hot pans.
The “peel and stick” application is straightforward only when the wall is suitable. Dust, grease, moisture, loose paint and textured finishes can interfere with adhesion. Uneven walls may also make panels look raised or cause visible gaps between sections.
A good preparation routine includes:
A vinyl splashback roll is flexible and useful for covering longer, uninterrupted runs. It can be trimmed with care and is generally convenient for utility rooms, rental makeovers and straightforward kitchen updates. The products listed here are intended to be wiped clean with a damp cloth as part of normal household maintenance.
Resin panels are more rigid and often have a high-shine finish. They can create the appearance of a glass-effect splashback, sea glass or patterned tile. Their panel format can make alignment more predictable, although more joins may be visible across a large wall.
Neither material should be treated as a universal replacement for heat-rated or waterproof construction materials. Always follow the product instructions and location warnings.
Measure the splashback area in centimetres, then add a sensible allowance for trimming and pattern matching. Compare that measurement with the stated coverage:
Do not assume that a roll measuring 18 inches by 9 feet will cover a full kitchen. Convert the dimensions into your actual wall area and account for sockets, cupboards, corners and waste.
A wipe-clean surface is practical behind a sink or worktop, but avoid installing removable wall tiles on damp, uneven or heavily textured walls. In bathrooms, ventilation and splash exposure should be considered carefully. A bathroom splashback positioned away from constant water contact may be more suitable than one placed inside a shower area.
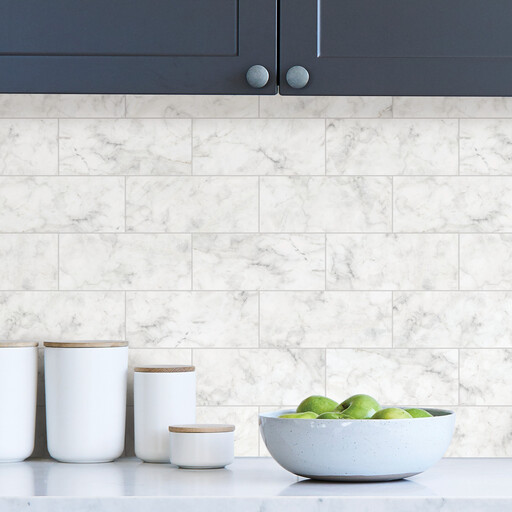
Why This Fits Their Persona: The white marble metro-tile-inspired design offers a simple way to refresh a compact kitchen, utility room or bathroom without buying multiple packs of individual panels.
Its stated roll size is 18 inches wide by 9 feet long, making coverage easier to calculate than a small multi-pack. It is also designed to pull up for removal.
Vinyl construction, one 108 x 18 inch sheet and no grout or special tools required.
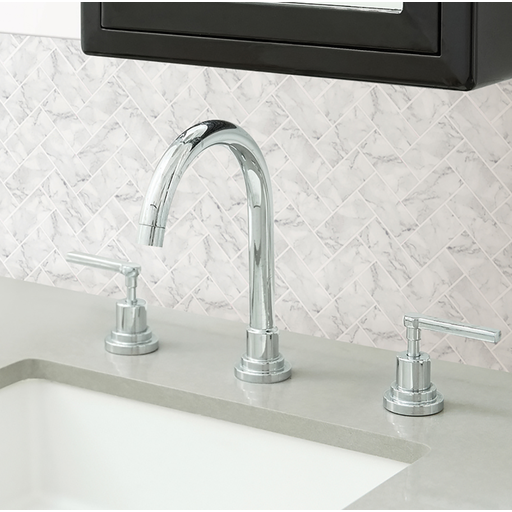
Why This Fits Their Persona: The Carrara-style white marble pattern and herringbone layout suit shoppers who want a more detailed decorative finish for a feature wall.
The individual panel and tile dimensions are listed, so you can plan pattern placement instead of judging scale from lifestyle images alone.
Four 10 x 10 inch panels, a high-shine resin finish and peel-and-stick application.
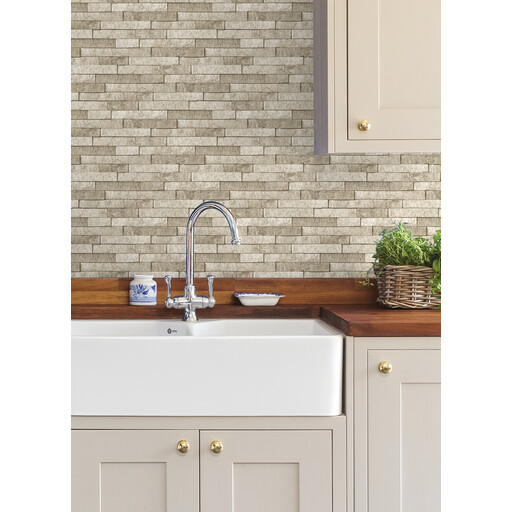
Why This Fits Their Persona: A long taupe stone-effect roll is practical for extending across a utility room, kitchen run or other broad, smooth wall area.
The 108 x 18 inch roll provides a clearly stated coverage format, while the surface warning highlights the need for proper preparation.
Vinyl roll format, natural taupe rectangular stone appearance and damp-cloth cleaning.
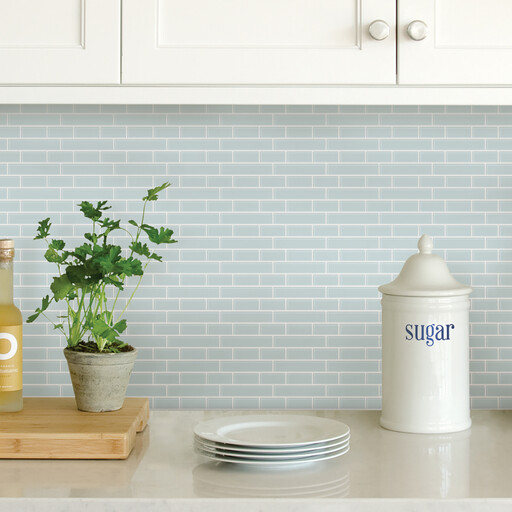
Why This Fits Their Persona: The blue sea-glass appearance suits renters and interior design enthusiasts creating a colourful focal point in a kitchen, bathroom or bookshelf area.
Its panel dimensions and four-pack quantity are stated clearly, helping you assess whether the coverage suits a smaller splash zone.
Four 27 x 27 cm panels, blue resin construction and a high-shine finish.
We have compiled a complete, real-time list of products that fully satisfy these strict selection criteria and UK safety regulations.
They can be suitable for some rental properties because several designs are made to pull up and are described as leaving no sticky residue. The result depends on the existing wall finish, paint condition and length of installation. Ask your landlord if the tenancy agreement requires permission, and test removal in an inconspicuous area first.
Lifespan varies with preparation, temperature, humidity, cleaning and daily contact. A smooth, dry wall generally provides a more suitable base than a textured or damp surface. Keep the tiles away from direct heat and follow the supplied maintenance instructions rather than using abrasive cleaners.
Only where the product instructions and the location are compatible. Check the required heat clearance above a cooker, particularly where there is no backing panel. Around a sink, use the product only in areas suitable for decorative indoor application and avoid prolonged water exposure. For a heavily splashed or high-heat zone, conventional materials with appropriate ratings may be more suitable.