
24/7 Customer Support

Free returns

Same-day & Next-day Delivery

Quality Guaranteed

Unlock Your Welcome Offers: FREE Delivery | Up to 80% OFF | Free 30-day JoyPlus trial
Download the APP
Small holes, split timber, damaged skirting boards and cracked plaster can make a well-maintained UK home look unfinished. The right wood filler can restore a repair ready for sanding, painting, staining or varnishing, but choosing by price or drying-time headline alone can lead to wasted material and repeat work.
This guide explains what to check before buying, from interior wood filler and exterior repairs to deep holes, masonry and plaster damage.
A product designed for interior walls may not withstand rain, frost or repeated temperature changes. Equally, a tough exterior compound may be unnecessary for a small indoor nail hole.
Check whether the product is intended for:
A waterproof wood filler or exterior masonry filler is more suitable where moisture exposure is expected, but always check the label for the permitted surface and finishing system.
A quick-drying wood filler may set rapidly, but the repair still needs proper surface preparation, possible additional layers, sanding and decoration. Drying time can also vary with depth, temperature, humidity and ventilation.
For example, a product that dries in approximately five minutes may be practical for a small interior crack, while a deeper hole could require several applications or a different compound altogether.
Small tubes are convenient for occasional touch-ups, but they may offer poor value for multiple rooms or repeated maintenance. Conversely, buying a large tub for one small repair can leave opened filler exposed to drying or contamination.
Estimate the repair area first, then compare the pack size, recommended fill depth and application method. A resealable tub may suit property maintenance, while a tube offers controlled application for isolated defects.
For timber repairs, look for a product clearly marked for interior and exterior use if the repair may be exposed to weather. A flexible formula can be useful on wood that naturally expands and contracts.
For walls, select a suitable multipurpose filler, plaster repair filler or masonry filler. Polycell Polyfilla options in the range include products for plaster, masonry, concrete, brickwork, stone and interior wood, while exterior formulations are intended for weather-exposed repairs.
Do not use an interior-only filler outdoors or on damp surfaces. If a wall has ongoing water ingress, movement or structural damage, filling the visible crack alone may not address the underlying issue.
Depth is one of the most important buying checks:
Some wood fillers are intended for repairs deeper than 5 mm, while others should be built up in 5 mm layers. Filling too much at once can affect drying and finishing, even when the product appears thick enough.
Check whether the cured filler can be sanded, planed, drilled, screwed, nailed, stained, varnished or painted. These features matter particularly for door frames, window sills and timber that will receive fixings.
Water-based ready-mixed fillers are often convenient for indoor decorating, while two-part or chemically bonded wood fillers may have additional safety requirements. Follow the container instructions, use suitable gloves and eye protection where stated, and provide adequate ventilation. Some products contain ingredients that may cause skin or eye irritation, allergic reactions or harm through prolonged exposure. Keep products away from children, heat and ignition sources where the label requires it.
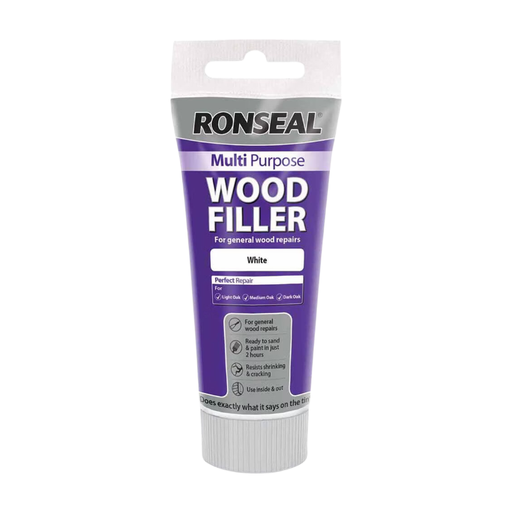
Why This Fits Their Persona: A compact 100g tube is practical for occasional repairs around a flat, rental property or family home, including small indoor and outdoor wood defects.
It is specified for interior and exterior wood repairs, rather than being limited to indoor wall use. Deeper holes should be filled in 5 mm layers.
Approximately two-hour drying time; can be sanded, planed, painted, varnished or stained once dry.
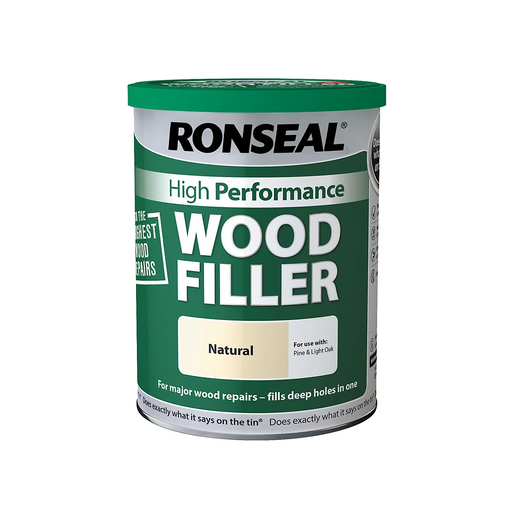
Why This Fits Their Persona: A 1kg pack suits substantial timber maintenance, including window frames, sills, doors and door frames in a long-term home or renovation project.
Its specification is designed for deep wood repairs and both locations, avoiding the mismatch between a small surface filler and major timber damage.
Hardens in approximately 30 minutes; cured repairs can be sanded, drilled, screwed or planed.
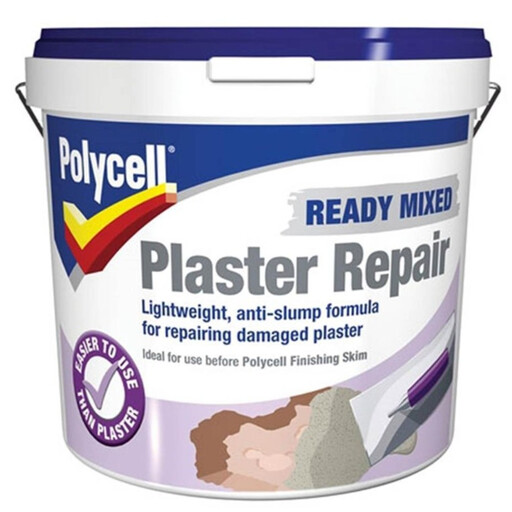
Why This Fits Their Persona: The 2.5-litre container is suited to landlords, decorators and homeowners repairing larger areas of damaged interior plaster.
It is specifically intended for interior plaster, plasterboard and masonry, rather than being presented as a universal exterior or timber repair.
Anti-slump formulation for repairs up to 50 mm; dries to a smooth white finish ready for painting within approximately 24 hours.
For a fine interior repair, Polyfilla Quick Drying Filler 330g is formulated for plaster, wood, masonry and stone, with an approximate five-minute drying time under normal conditions. It is intended for indoor use only.
We have compiled a complete, real-time list of products that fully satisfy these strict selection criteria and UK safety regulations.
Yes, but only when the product is specifically labelled for exterior use and the surface is suitable. Exterior repairs may also need compatible paint or sealing protection. Keep the filled area protected from rain while the product sets.
It depends on the formulation. Some high-performance products are designed for deep holes, while multipurpose wood filler may need to be applied in 5 mm layers. Always follow the pack instructions rather than judging depth by appearance.
Most sandable fillers should be allowed to dry or cure fully before sanding. Remove dust afterwards, then apply the recommended primer, paint, stain or varnish. For flexible caulk used in joints, sanding may not be required, so check the product guidance.